VirtualBox Installation on macOS
VirtualBox Installation
Running virtualization on your laptop/desktop or home lab provides an easy way to learn and test various operating systems, including AWS EC2 instances. Also, it can serve a development environment for testing code and configurations. While there are various virtualization solutions such as VMware, VirtualBox offers a free solution that is well supported in the open source community.
Main website: https://www.virtualbox.org Downloads for various OSes: https://www.virtualbox.org/wiki/Downloads
macOS Installation
- Download VirtualBox-7.0.4-154605-OSX.dmg
- To run the installer, double-click VirtualBox-7.0.4-154605-OSX.dmg
- Double-click VirtualBox.pkg
- Click Continute
- Select the location and click Install
- Click Close when done
Installing Debian Linux
- Debian downloads can be found at https://www.debian.org/download
- Download the version for your CPU
- Open VitrualBox
- Click New
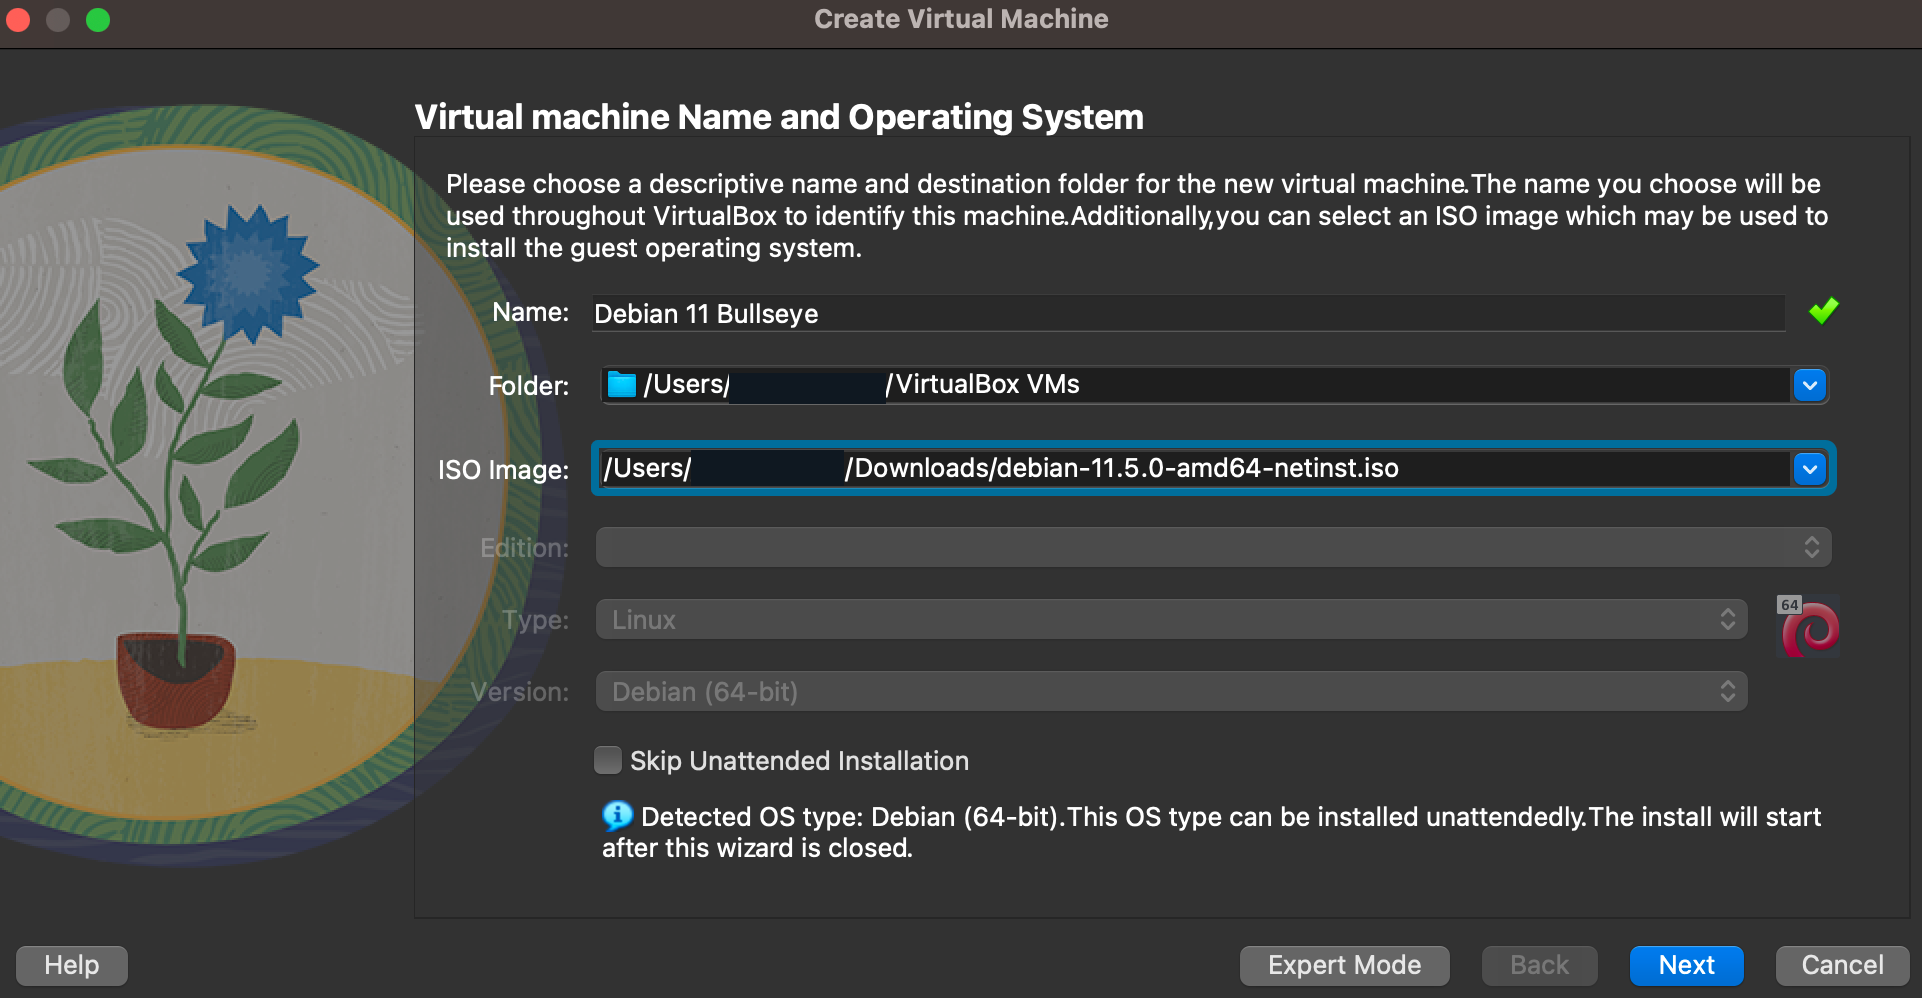
- Enter Name for the virtual name
- Select Location
- Select other for ISO and locate the Debian ISO you downloaded
- Click Next
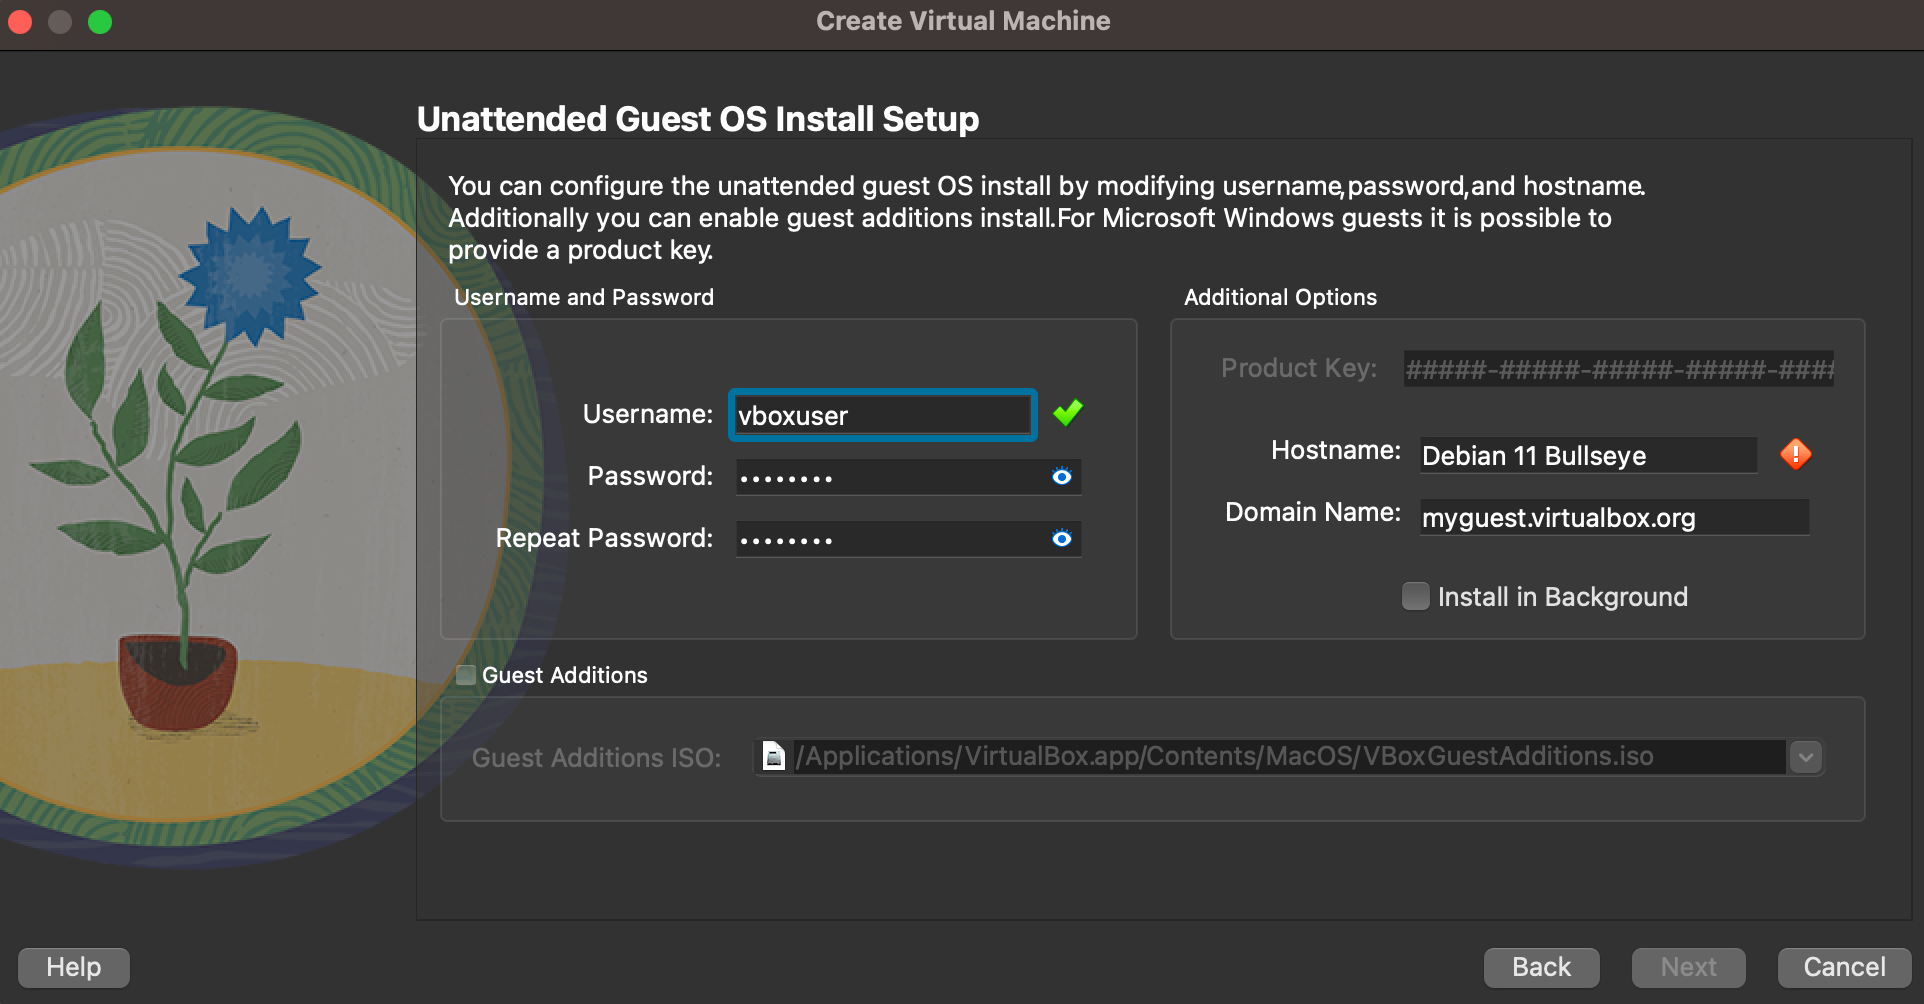
- Enter Usename and Password for the installation
- Enter Hostname
- Select Guest Additions for the additional tools
- Click Next
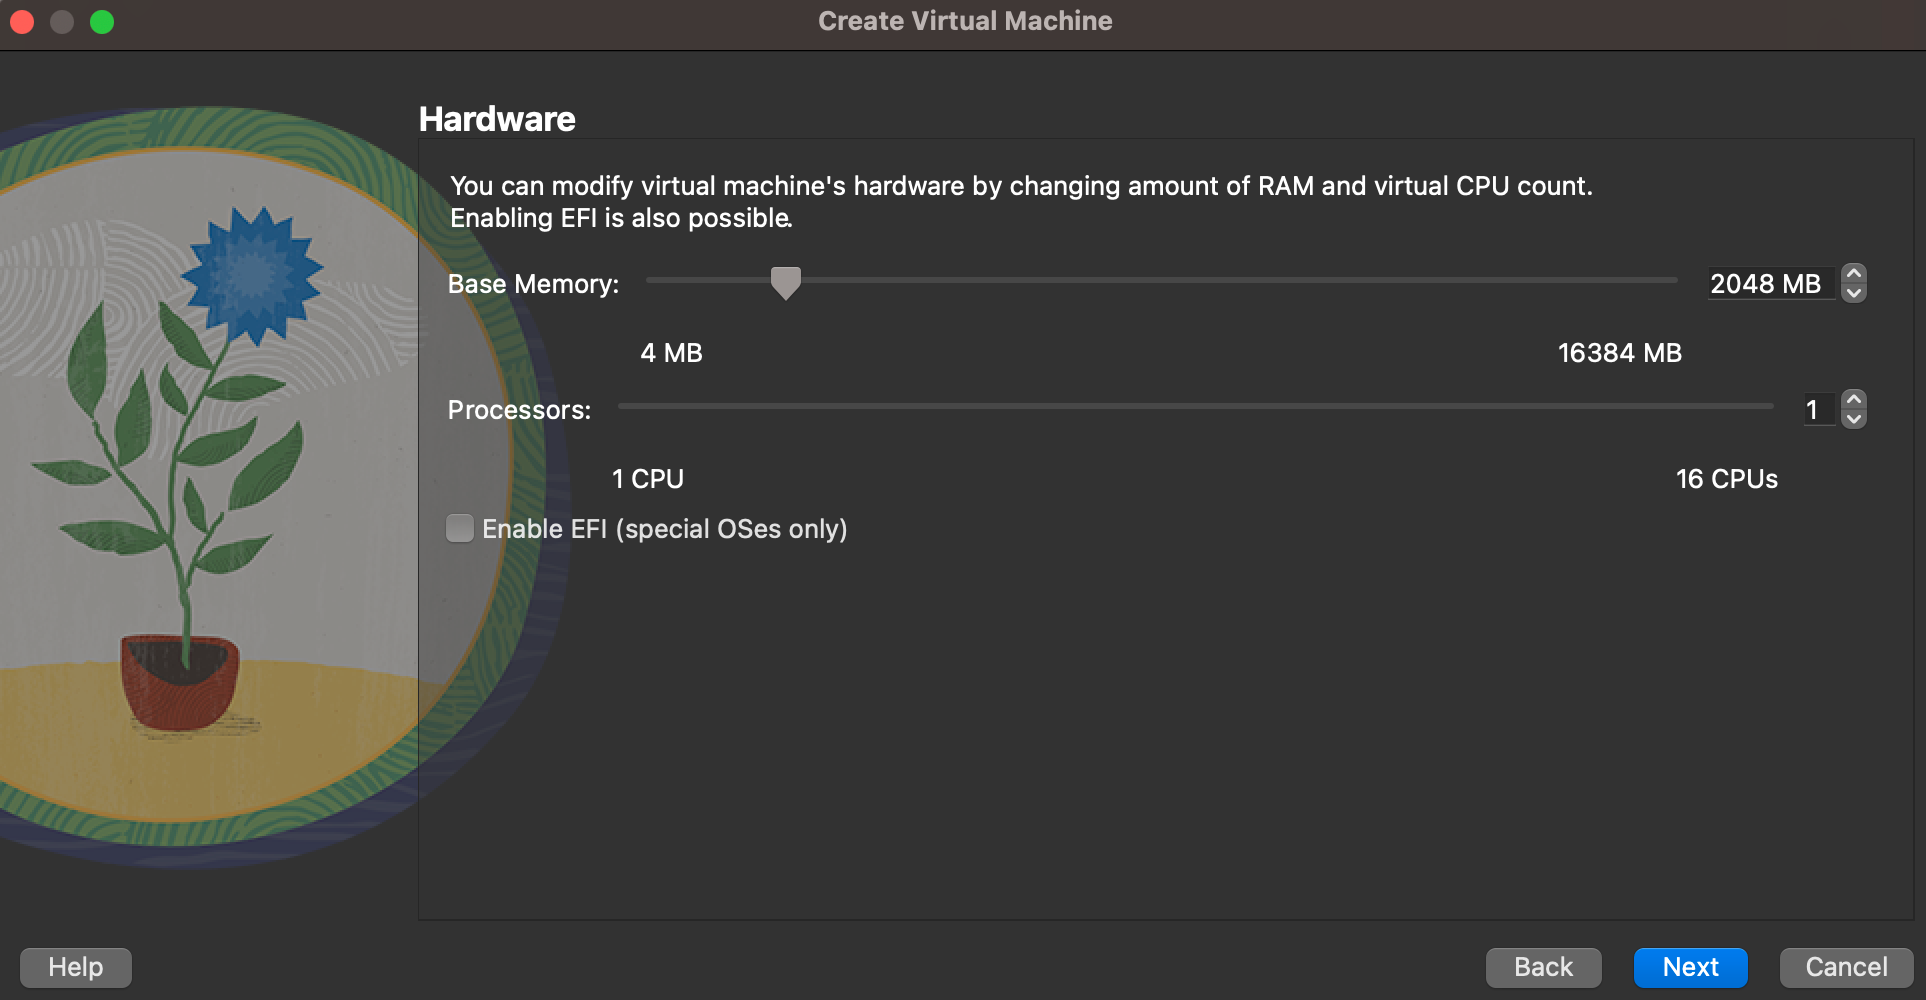
- Select the Memory and CPU
- Click Next
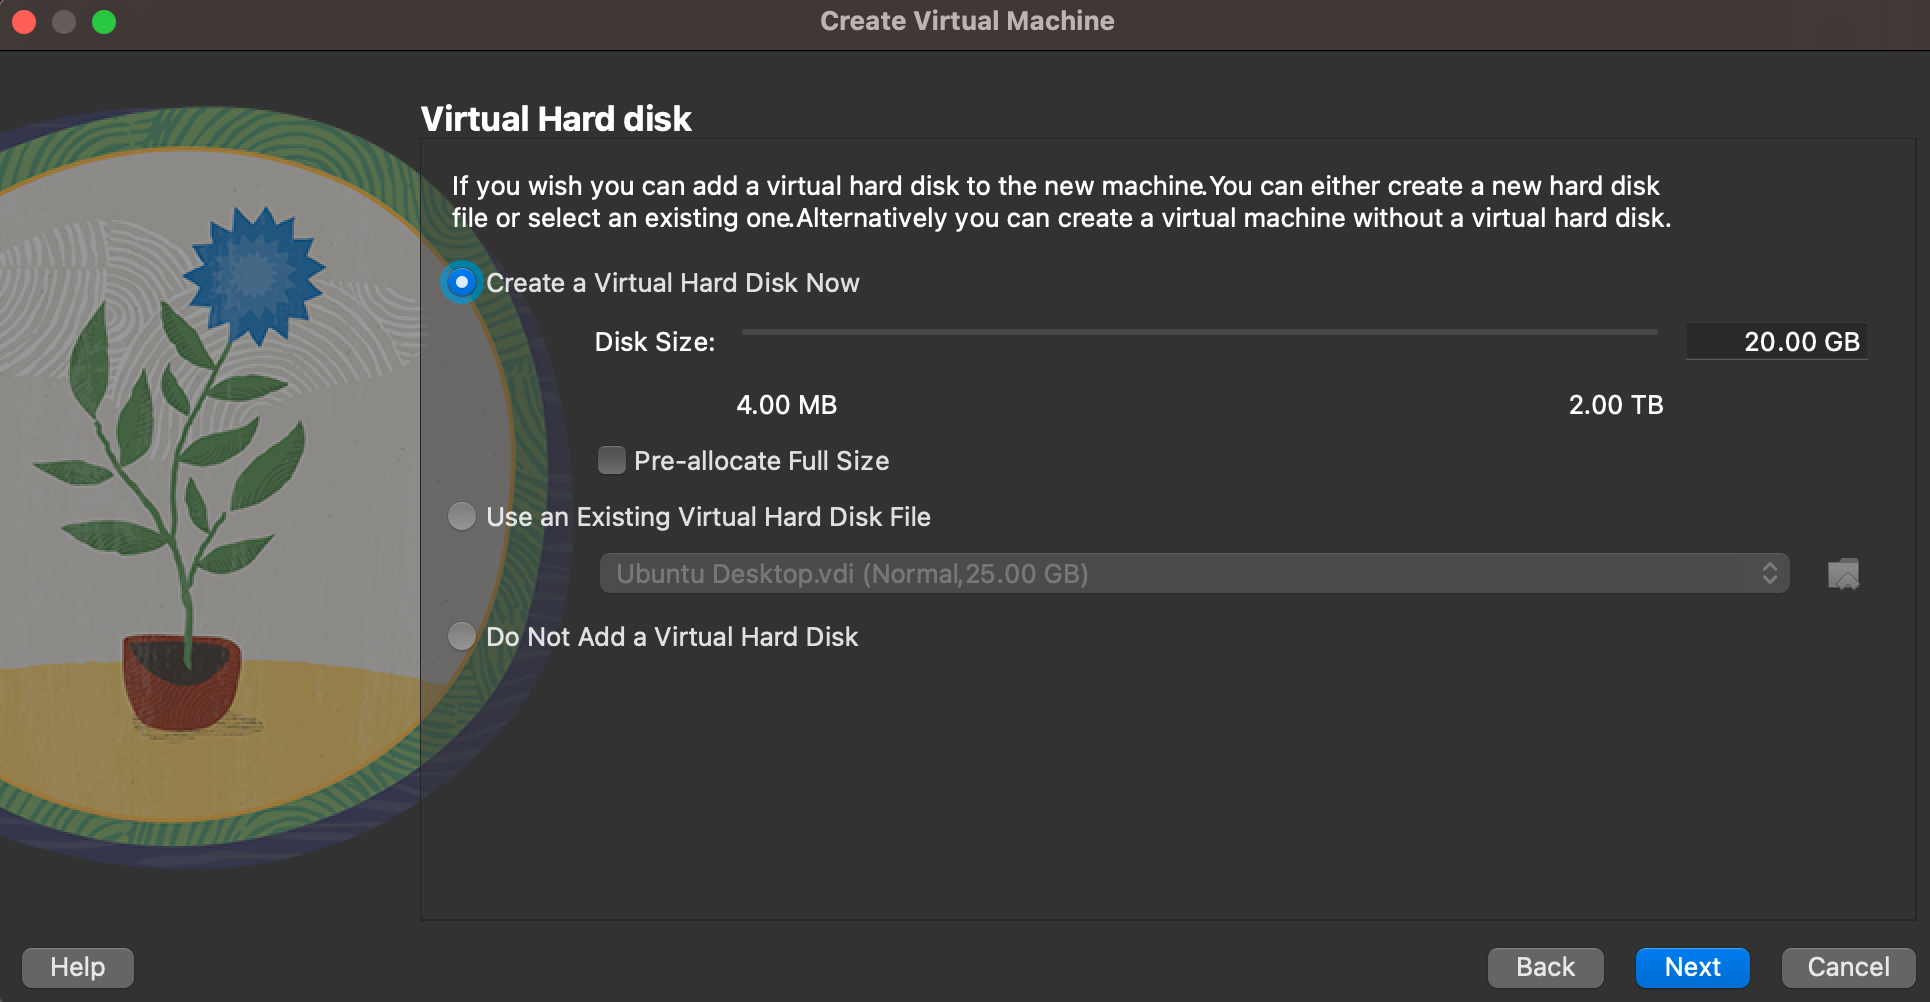
- Select Create Virtual Disk Now and select the disk size
- Click Next
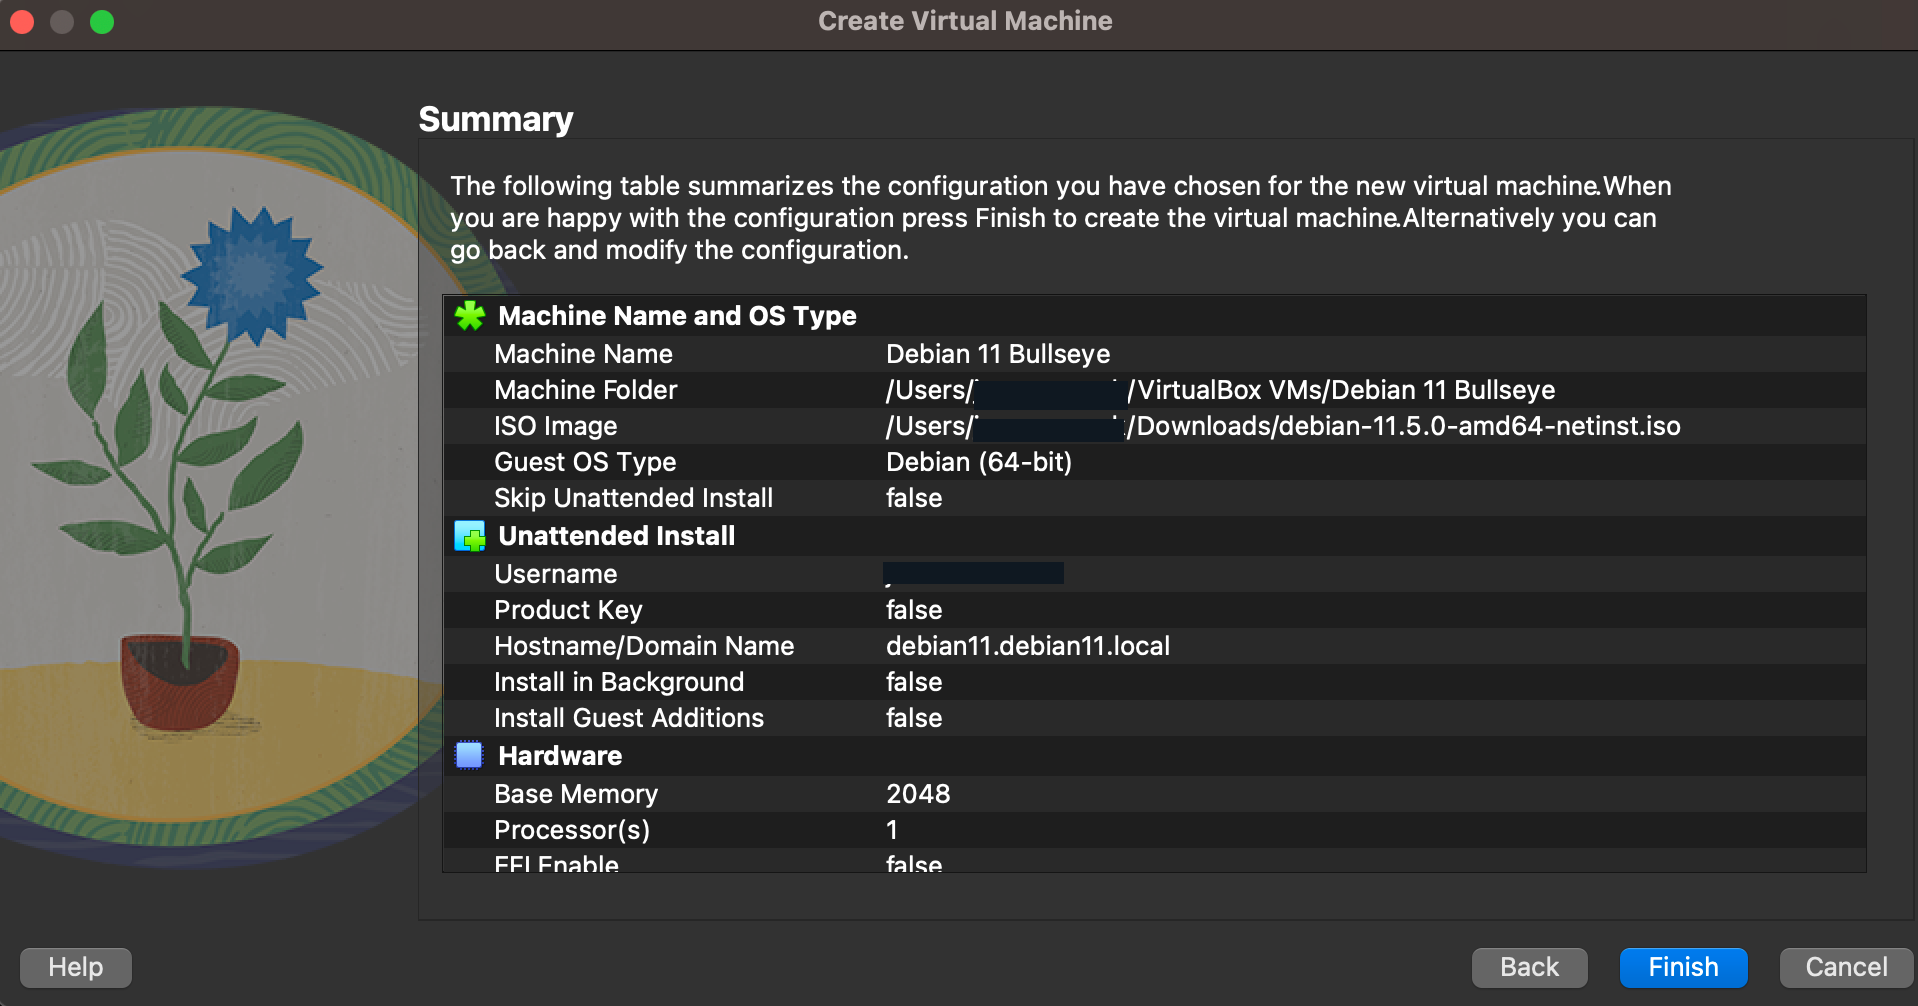
- Verify settings and click Finish
- Wait until the installation finishes
Debian Setup
Add user to sudoers
Note: Install VIM as VI doesn’t work well with VirtualBox
1
2
3
4
5
sudo apt install vim
EDITOR=vim visudo
usermod -aG sudo username
visudo
username ALL=(ALL) NOPASSWD:ALL
Install OpenSSH
1
2
3
sudo apt install openssh-server
sudo systemctl start ssh
sudo systemctl status ssh
Installing Ubuntu Linux
- Ubuntu downloads can be found at https://ubuntu.com/#download
- Download the version for your CPU
- Open VirtualBox
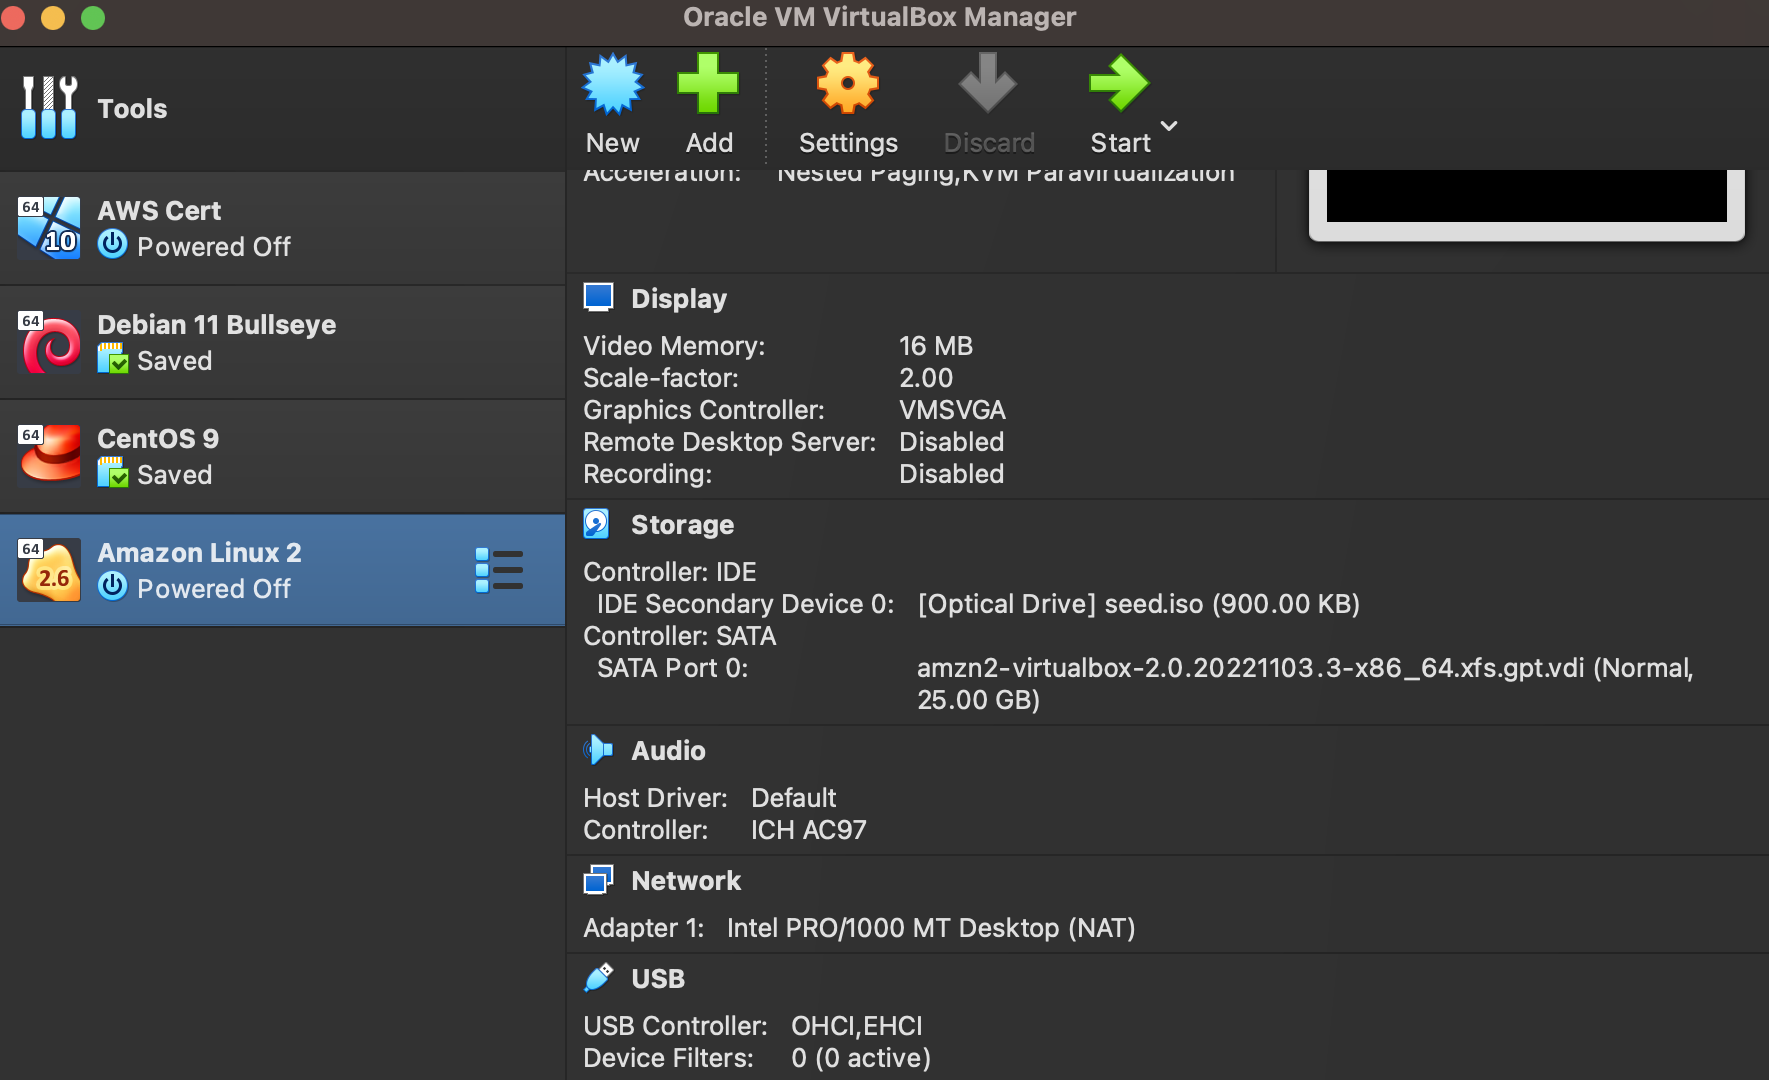
- Click New
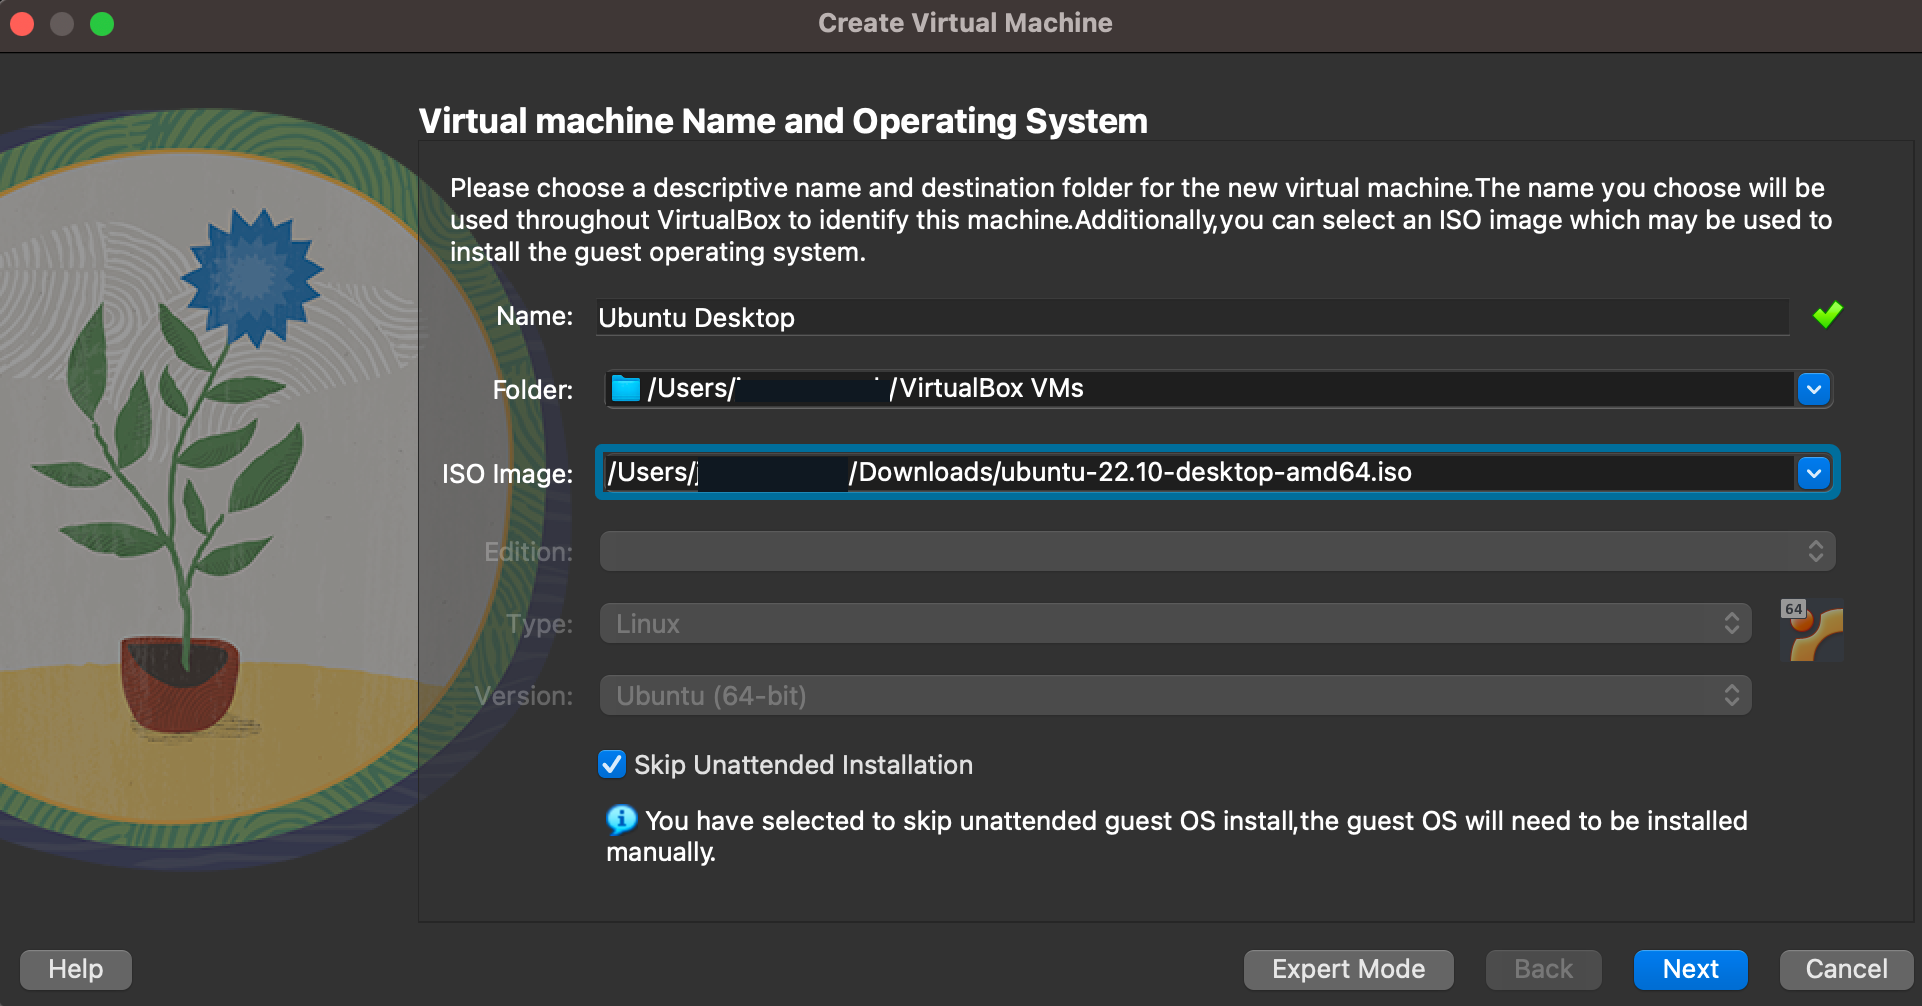
- Enter Name for the virtual name
- Select Location
- Select other for ISO and locate the Ubuntu ISO you downloaded
- Select Skip Unattended Installation
- Click Next
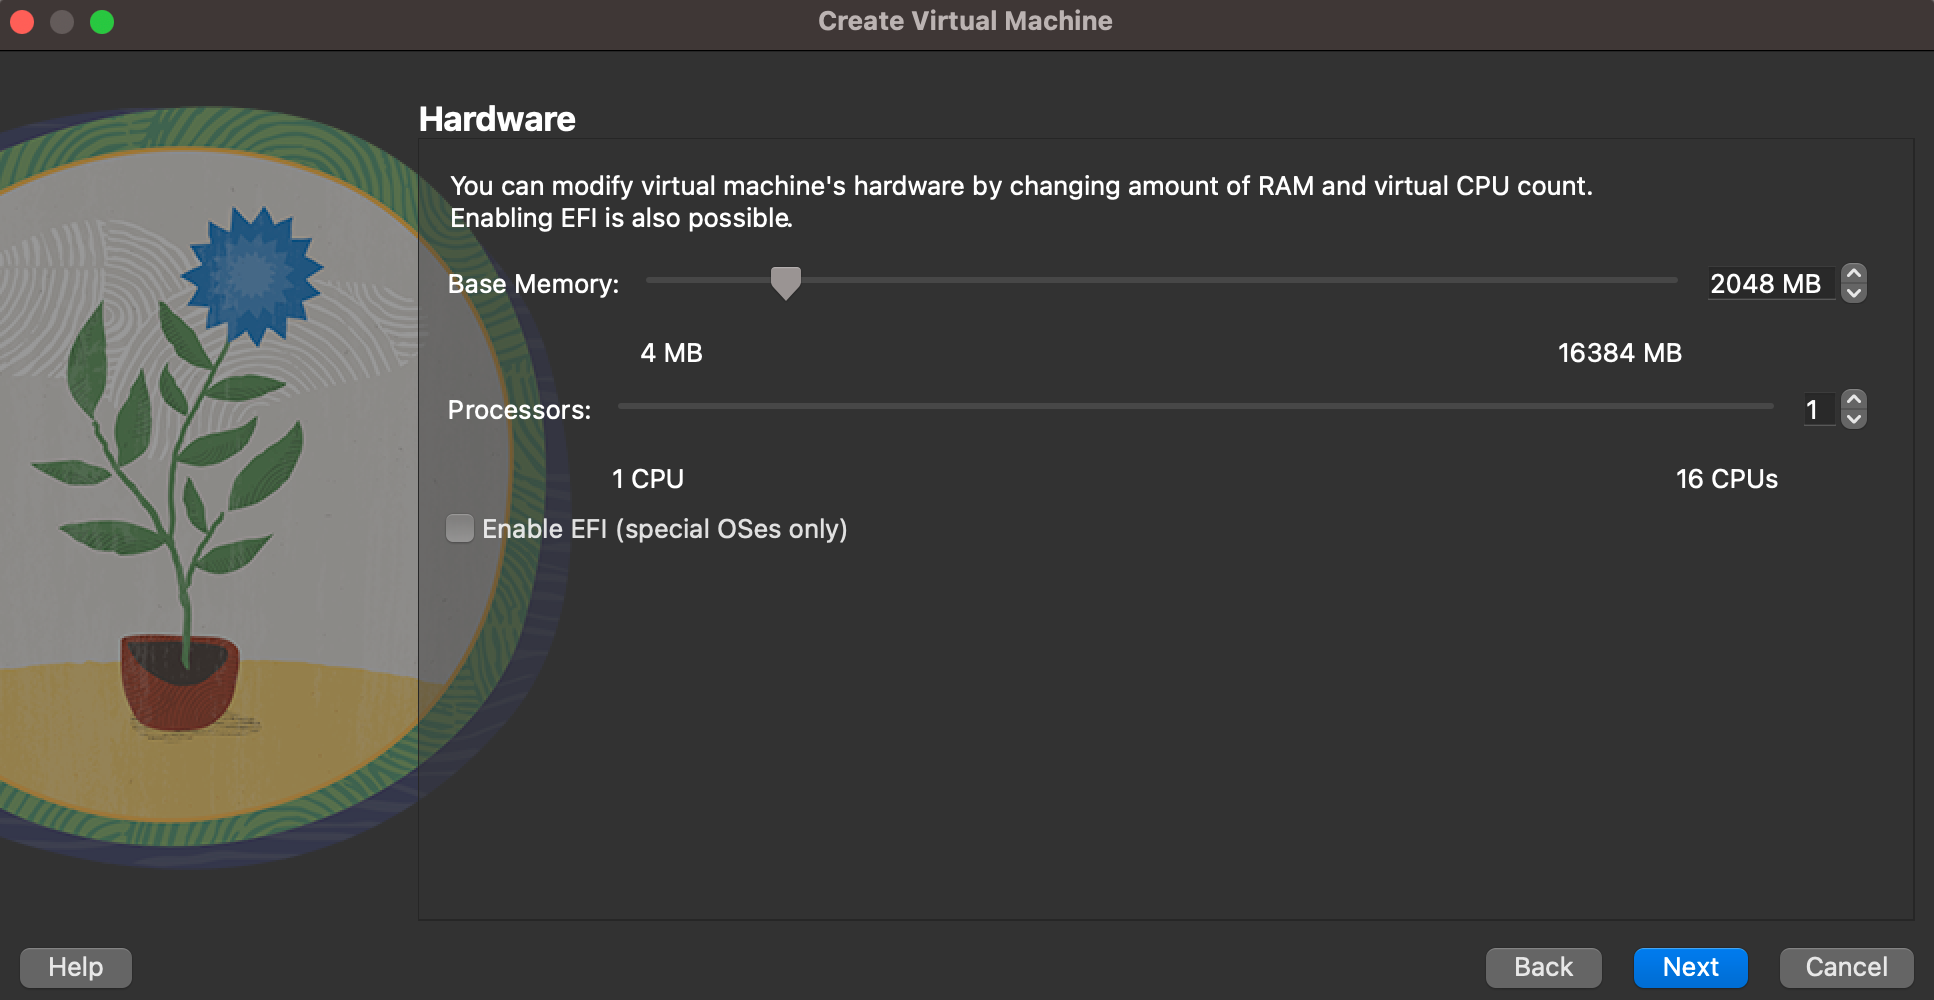
- Select the Memory and CPU
- Click Next
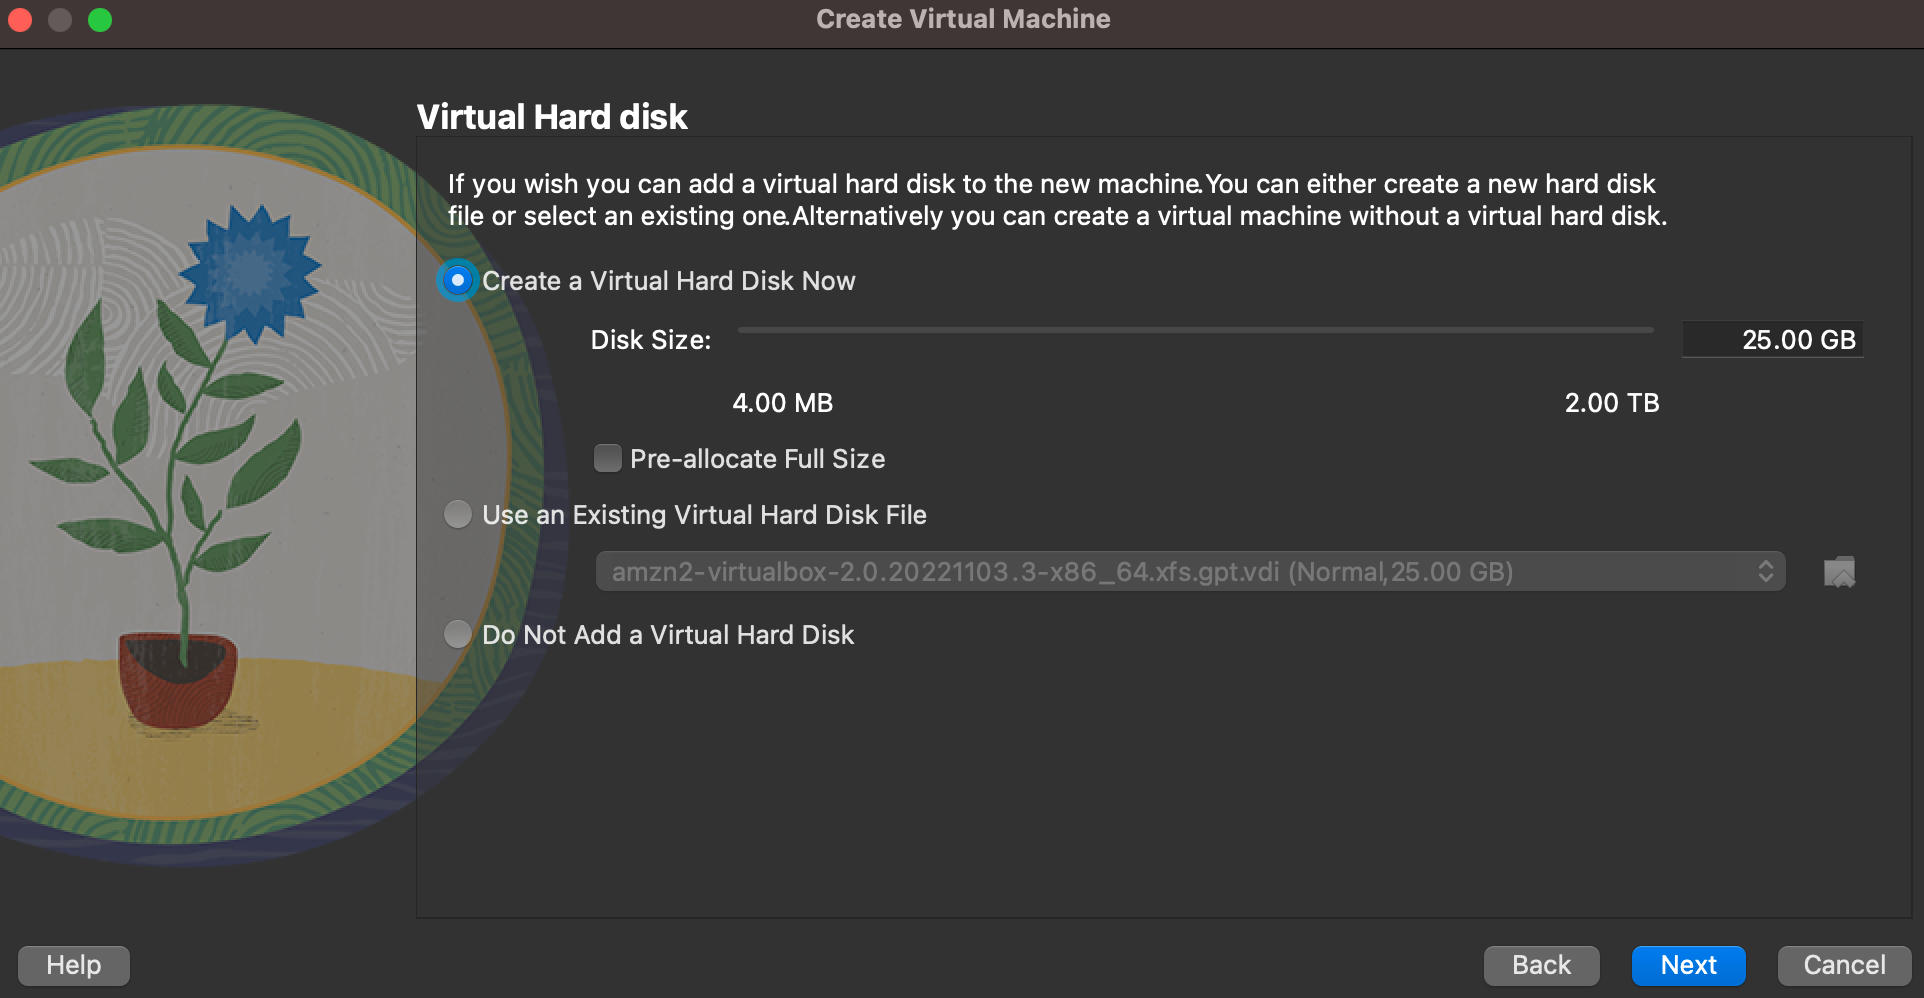
- Select Create Virtual Disk Now and select the disk size
- Click Next

- Verify settings and click Finish
- Wait until the installation finishes
Amazon Linux 2
Useful Linux image to run locally is Amazon Linux 2 which is the default Linux when you provision an AWS EC2 instance. Great and free way to test your image before you deploy live.
Setup
Instructions can be found at https://docs.aws.amazon.com/AWSEC2/latest/UserGuide/amazon-linux-2-virtual-machine.html
Note: Select the instructions for Oracle VirtualBox
Recommended network configuration
Since most of this is used for development and testing, I recommend using the DHCP option. Configuration is below.
1
2
3
4
5
local-hostname: amazonlinux
# eth0 is the default network interface enabled in the image. You can configure static network settings with an entry like the following.
network-interfaces: |
  auto eth0
  iface eth0 inet dhcp
VirtualBox Tips
Do not allow VirtualBox to limit screen size as it may be difficult to read. To change the display settings, select Preferences -> Display -> Maximum Guest Screen Size should be set to None.
VirtualBox Networking Chart
Chart below compares different network adapter options for VirtualBox. Important information depending on your connectivity requirements. In general, the bridged option works the best.
| Network | VM <-> Host | VM1 <-> VM2 | VM -> Internet | VM <- Internet |
|---|---|---|---|---|
| Host-Only | + | + | - | - |
| Internal | - | + | - | - |
| Bridged | + | + | + | - |
| NAT | - | - | + | Port Forwarding |
| NAT | - | + | + | Port Forwarding |
